Doctor Management
This section describes how to manage doctor information.
1. Doctor Listing
Image 1:
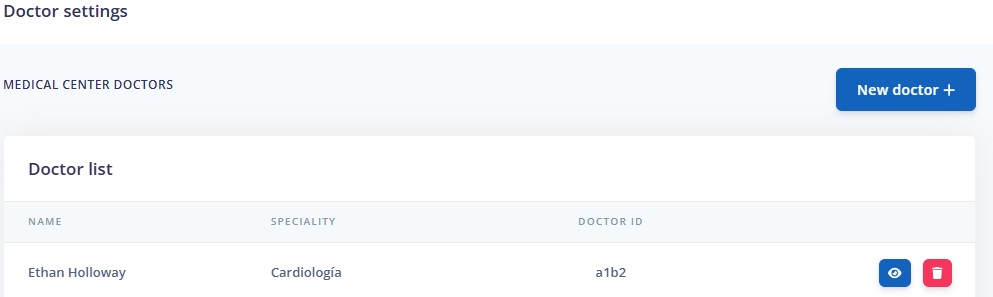
The main screen (Image 1) displays the list of doctors. Each entry includes:
- NAME: Doctor's name.
- SPECIALTY: Medical specialty.
- DOCTOR ID: Unique ID from the external system.
- Actions (eye and trash can icons in each row):
 : Allows viewing and editing information.
 : Deletes the doctor.
2. Creating a New Doctor
Doctors can be created in two ways: through an endpoint method or from the administration panel. The following explains the graphical interface of the administration panel for creating doctors.
To create a new doctor, click ![]() (Image 1). The following window will open:
(Image 1). The following window will open:
Image 2:

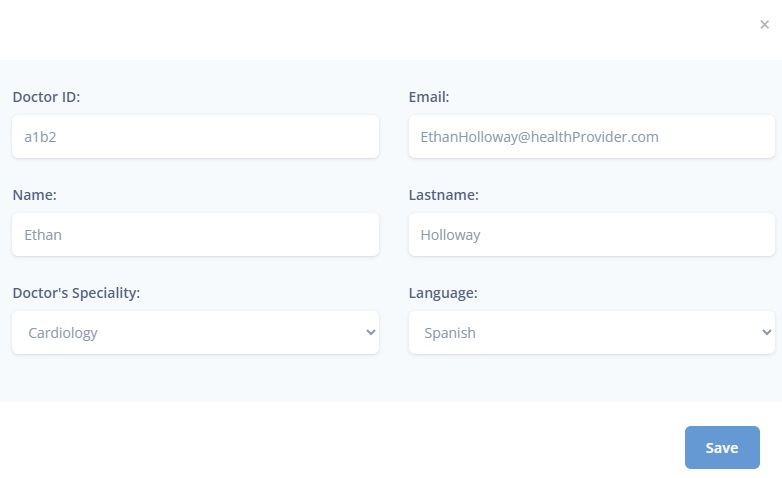
The form fields (Image 2) are:
- Doctor ID: (Required) Unique ID from the external system.
- Email: (Required) Doctor's email address.
- First Name: (Required) Doctor's first name.
- Last Name: (Required) Doctor's last name.
- Doctor's Specialty: (Required) Select the specialty.
- Language: (Required) Spanish, English, or Catalan.
Click ![]() (Image 2) to save.
(Image 2) to save.
3. Viewing and/or Editing a Doctor
To view a doctor's information, click the ![]() icon in the corresponding row of the list (Image 1). This will show you the following view:
icon in the corresponding row of the list (Image 1). This will show you the following view:
Image 3
If you want to edit the information after viewing it, simply modify the desired field. When you make any changes, the Save button will be enabled, allowing you to confirm and save your changes.
The editable fields are:
- Email: Doctor's email address.
- First Name: Doctor's first name.
- Last Name: Doctor's last name.
- Doctor's Specialty: Specialty.
- Language: Doctor's language (Spanish, English, Catalan).
4. Deleting a Doctor
To delete a doctor, click the ![]() icon in the corresponding row of the list (Image 1). This action is irreversible and requires confirmation.
icon in the corresponding row of the list (Image 1). This action is irreversible and requires confirmation.